
Making a Portfolio Page with Jekyll
Jekyll is one of the most popular choices for coders making their personal websites. It’s simple to manage, easy to make blog posts and other content, and each Github account has free hosting and one free URL for Jekyll sites. I set up my own personal website this way and only had to buy a new domain name.
One of the most important parts of one’s is their portfolio for showing off their work. Making a Jekyll portfolio where each item just links somewhere else is easy. But what about giving portfolio items their own pages? They’d be great for discussing the workflow used, tools utilized, and challenges overcome.
In other words, an even better way to show off one’s work!
This is a step-by-step guide for making this kind of portfolio in Jekyll. Great for coders who want pages dedicated to going into detail about the amazing work they’ve done.
If you’re unfamiliar with Jekyll’s basics I recommend reading their docs first, as this article assumes you have a basic knowledge of configuring and running it.
Add the Collection to the config file
The first step is making a Jekyll collection. Collections are like posts can be used for things like team members or other custom content. In this case, they’re for a portfolio.
Like all important Jekyll things, making a collection starts in the _config.yml file. Creating a basic portfolio is as simple as adding the following:
collections:
  portfolio
Jekyll also lets you make settings for each collection. For our portfolio collection, we want each item to have it’s own page. We just need to add the following:
collections:
  portfolio:
    output: true
    permalink: /portfolio/:path/
The output property tells Jekyll that each file creates its own page. The permalink sets the default permalink path. Here it’d start off with www.yoursite.com/portfolio/, followed by the file name.
Create a collection folder and portfolio files
Now that Jekyll is looking for our portfolio items, we just need to make them. Add a _portfolio folder to your project and start adding them there.
Jekyll collection items are markdown files and can have any name. I recommend naming them similar to posts since they’re easier to organize: the date, following by the title, all lowercase and separated by dashes. So an example is 2016-08-25-my-portfolio-item.md.
The most important part of each portfolio item is the front matter on top, as it controls the file metadata. You can add any metadata you want, but we’ll focus on the basics: the title and layout.
---
layout: post
title: "Portfolio Item 1"
---- The layout is the HTML your post will be put into. These are in the
templatesfolder, but that’s another post. Just know every post and collection file needs a layout. Otherwise none of your site assets would be used and you’d get plain HTML. - The title is usually the
<title>element, the page header, and sometimes other parts of the page layout.
Loop through your portfolio info
Now that we have our portfolio content, we need to reference it in our pages. In any Jekyll page, you can loop through the collection data using the Liquid syntax, similar to looping through blog posts. If we just wanted to show all our Portfolio item titles, it’d look like this:
{% for portfolio in site.portfolio %}
  <h2>
    {{ portfolio.title }}
  </h2>
{% endfor %}
This just tells Jekyll to go through each post, and put the title value from each’s front matter in header tags. Jekyll also lets you use other variables outside of front matter ones, a few of which we’ll use in the next step.
Add more HTML to your loop
Here’s the best part: adding more HTML tags and classes for the portfolio items. This turns it from plain text into an actual portfolio page.
Let’s say we’re using Bootstrap for our site and want to put each portfolio piece in a Bootstrap panel. They’ll show the title, an excerpt, and link to the page. We just need to copy Bootstrap’s panel HTML, replace the content with our own variables, and put them in a row.
So the basic HTML looks like this:
<div class="row">

  {% for portfolio in site.portfolio %}

    <a href="{{ portfolio.url | prepend: site.baseurl }}">
      <div class="col-xs-12 col-sm-6 col-md-4">
        <div class="panel panel-primary">
          <div class="panel-heading">
              {{ portfolio.title }}
          </div>
          <div class="panel-body">
            {{ portfolio.excerpt }}
          </div>
        </div>
      </div>
    </a>

  {% endfor %}

</div>
You can see the variables from our front matter, such as {{ portfolio.title }}. url and excerpt are variables Jekyll makes for us. So using your portfolio item’s info is simple and easy to customize.
You may notice the url variable is written slightly differently, with prepend: site.baseurl. This is the Liquid templating engine, which can add simple filters or changes to variables. Here it’s adding the site’s URL from our config.yml file.
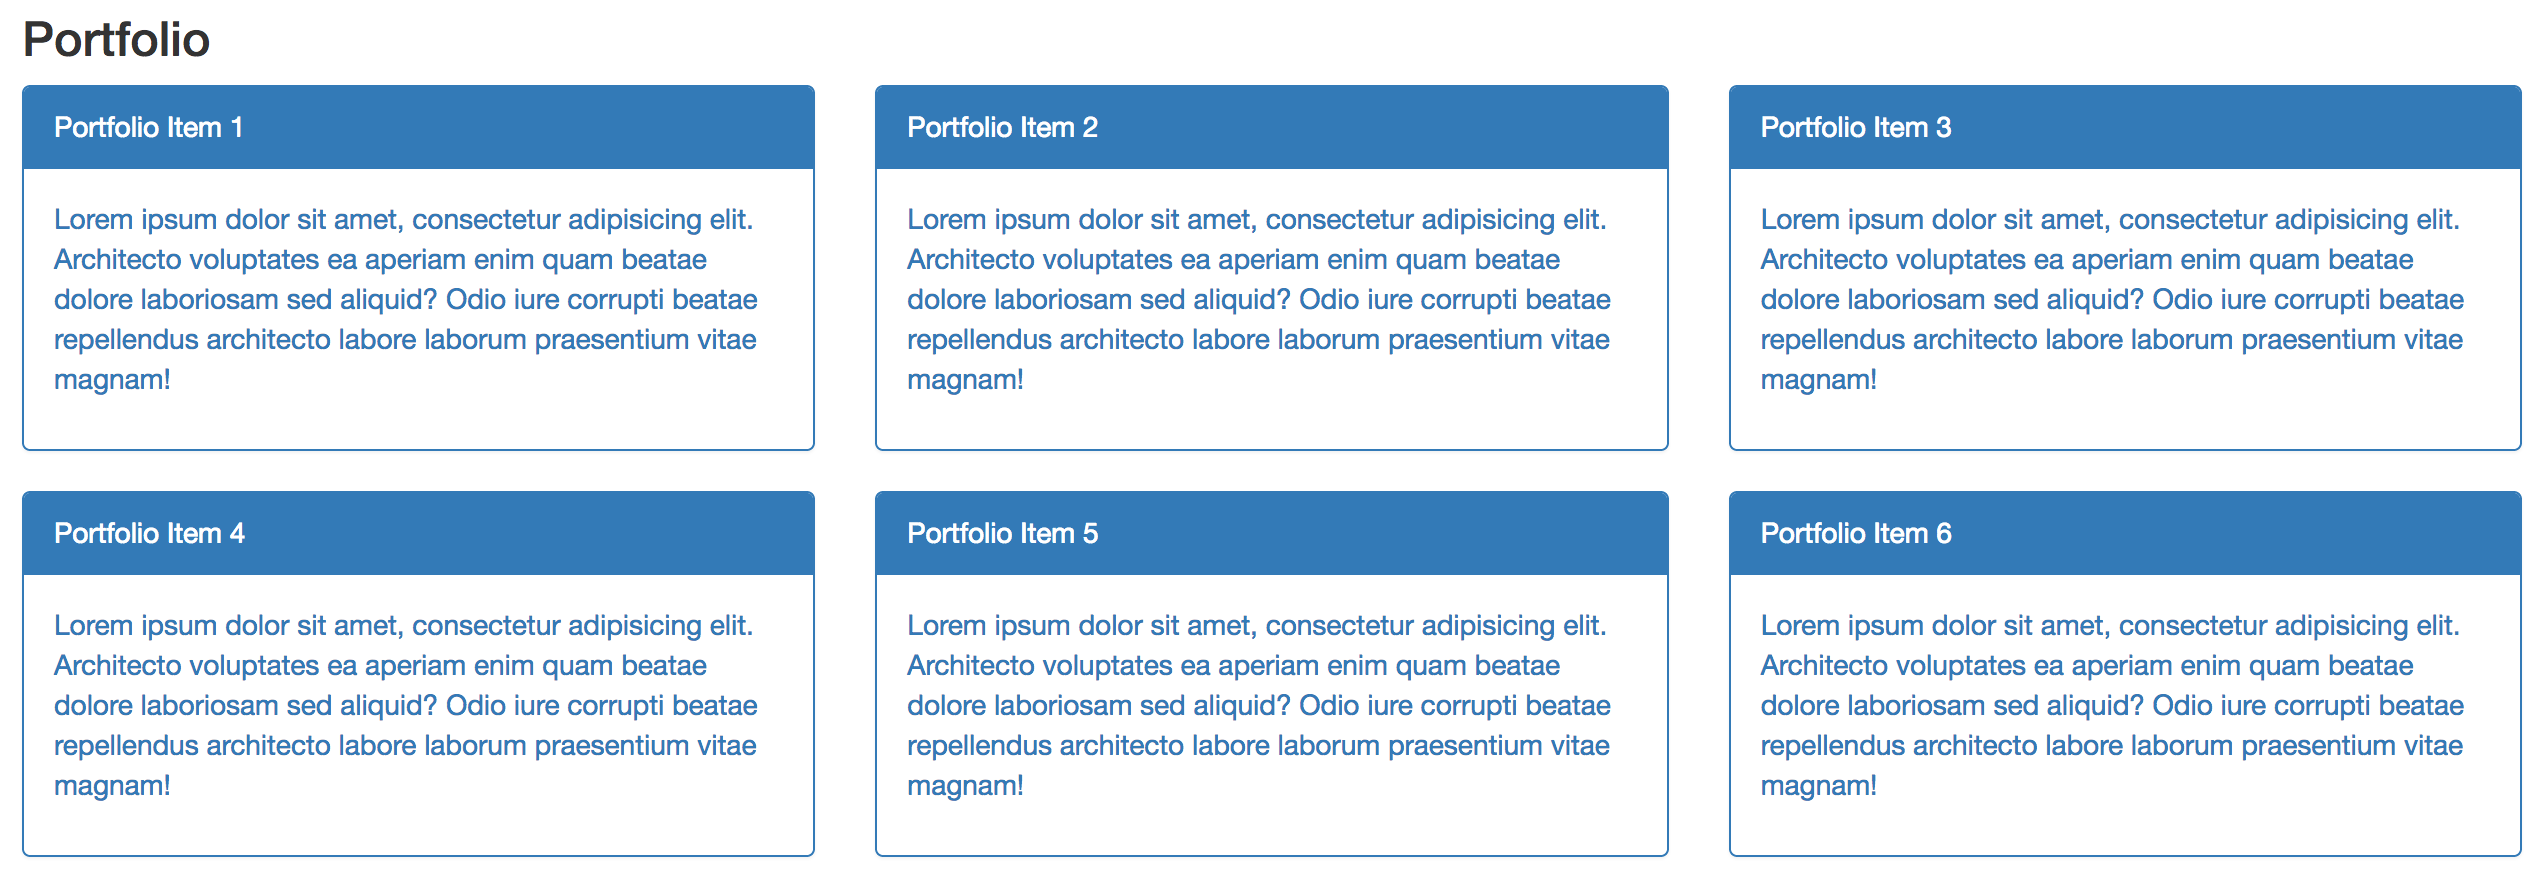
The resulting page from all this is below, which is plain but functional:
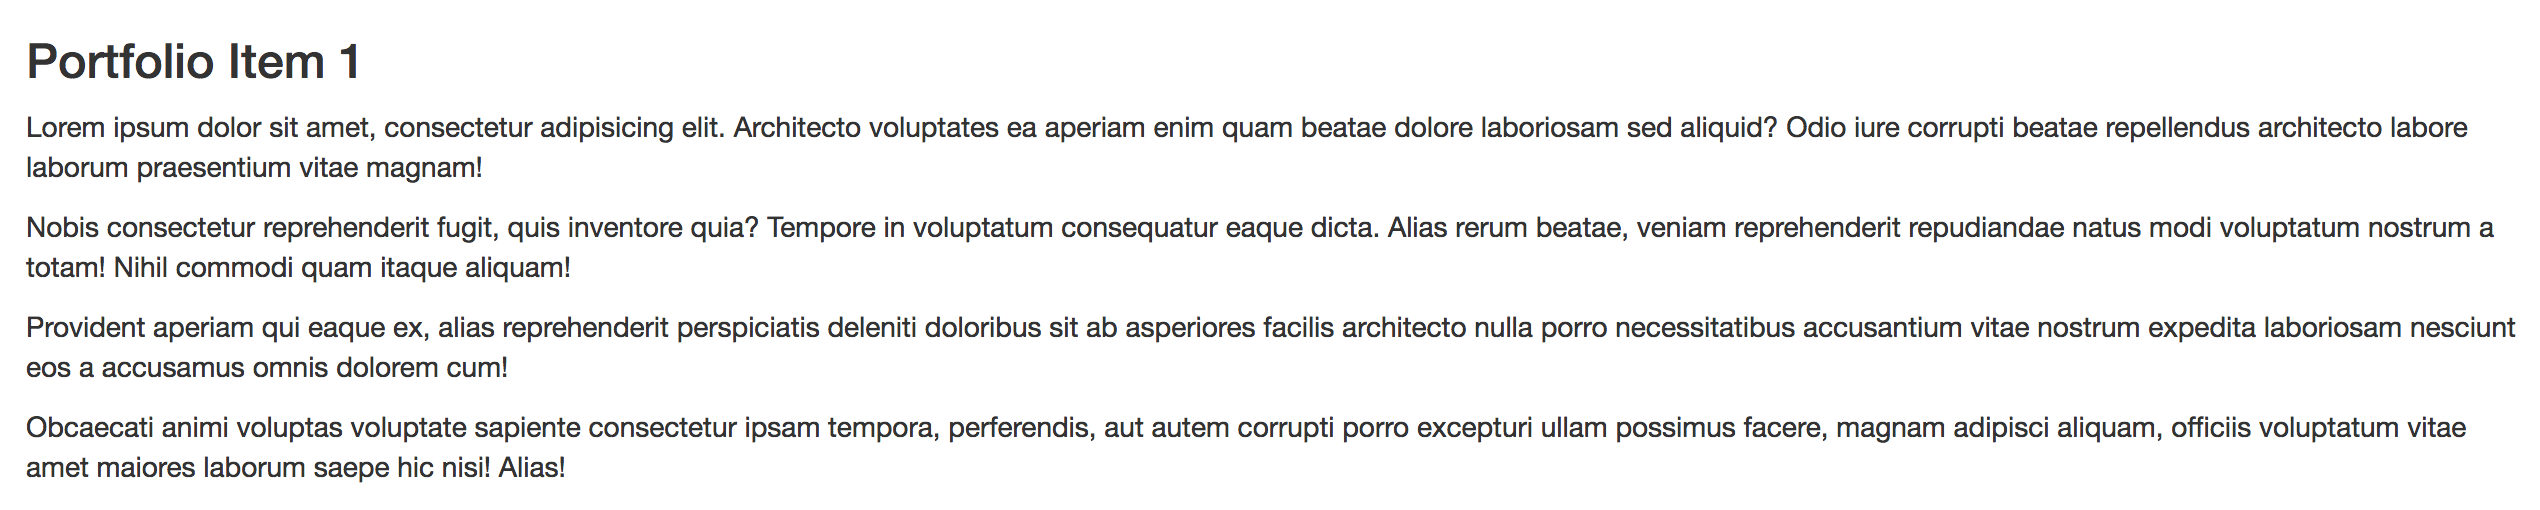
Clicking on one of the panels takes you to a portfolio page:
Add conditional for external links
Let’s add a curve ball: say you don’t want every portfolio item to have its own page. Some are posts you’ve written for others, or project pages that are self-explanatory. Plus you may not have time to write a post for everything. So you want the option to just link something to a different URL entirely.
Thankfully Jekyll makes this easy.
The first step is going to these posts and adding this to the front matter.
---
layout: post
title: "Portfolio Item 2"

ext_url: "http://www.external-portfolio-item.com/"
---
Now we need to use this in our HTML with some conditionals. We only need to use this variable where the link goes, and only when it has a value. Anyone familiar with if...else... Javascript statements will find this familiar.
<a href="{% if portfolio.ext_url %} {{ portfolio.ext_url }} {% else %} {{ portfolio.url | prepend: site.baseurl }} {% endif %}" {% if portfolio.ext_url %}target="_blank"{% endif %}>
  ...
</a>
Two conditionals are being used here:
- If a post has an external URL, the portfolio links to that. Otherwise, it links to its separate page.
- If there’s an external URL, it adds
target="_blank"so it opens in a new tab.
And with that, you can now add large and small projects to your portfolio!
In Conclusion
This is a bare-bones portfolio example, but the basics are there and ready to be built upon. The beauty of Jekyll is almost anything can be done with the tools it provides - in this case it’s Liquid templating, front-matter, collections, and some simple conditionals.
Building on these, someone could highlight specific items, add featured images, play complex front matter, and more. Have some fun and make it your own!
If you have any questions, comments, critiques, or ideas for other front-end tutorials, Jekyll or otherwise, please share them with us at @newhavenio, or with me directly at @Maxwell_Dev.