
Creating a Title Banner in Jekyll
Today there’s lots of popular front-end patterns: the off-canvas menu, cards, flexbox media objects, just to name a few. One of the most popular I’ve seen, and am still seeing more of, is what I call the “Title Banner” (I apologize if there’s a more official name out there I didn’t find). It’s popular for very good reasons and many devs will find it useful. This is a quick tutorial on making one for a Jekyll site.
Back up. What is a Title Banner?
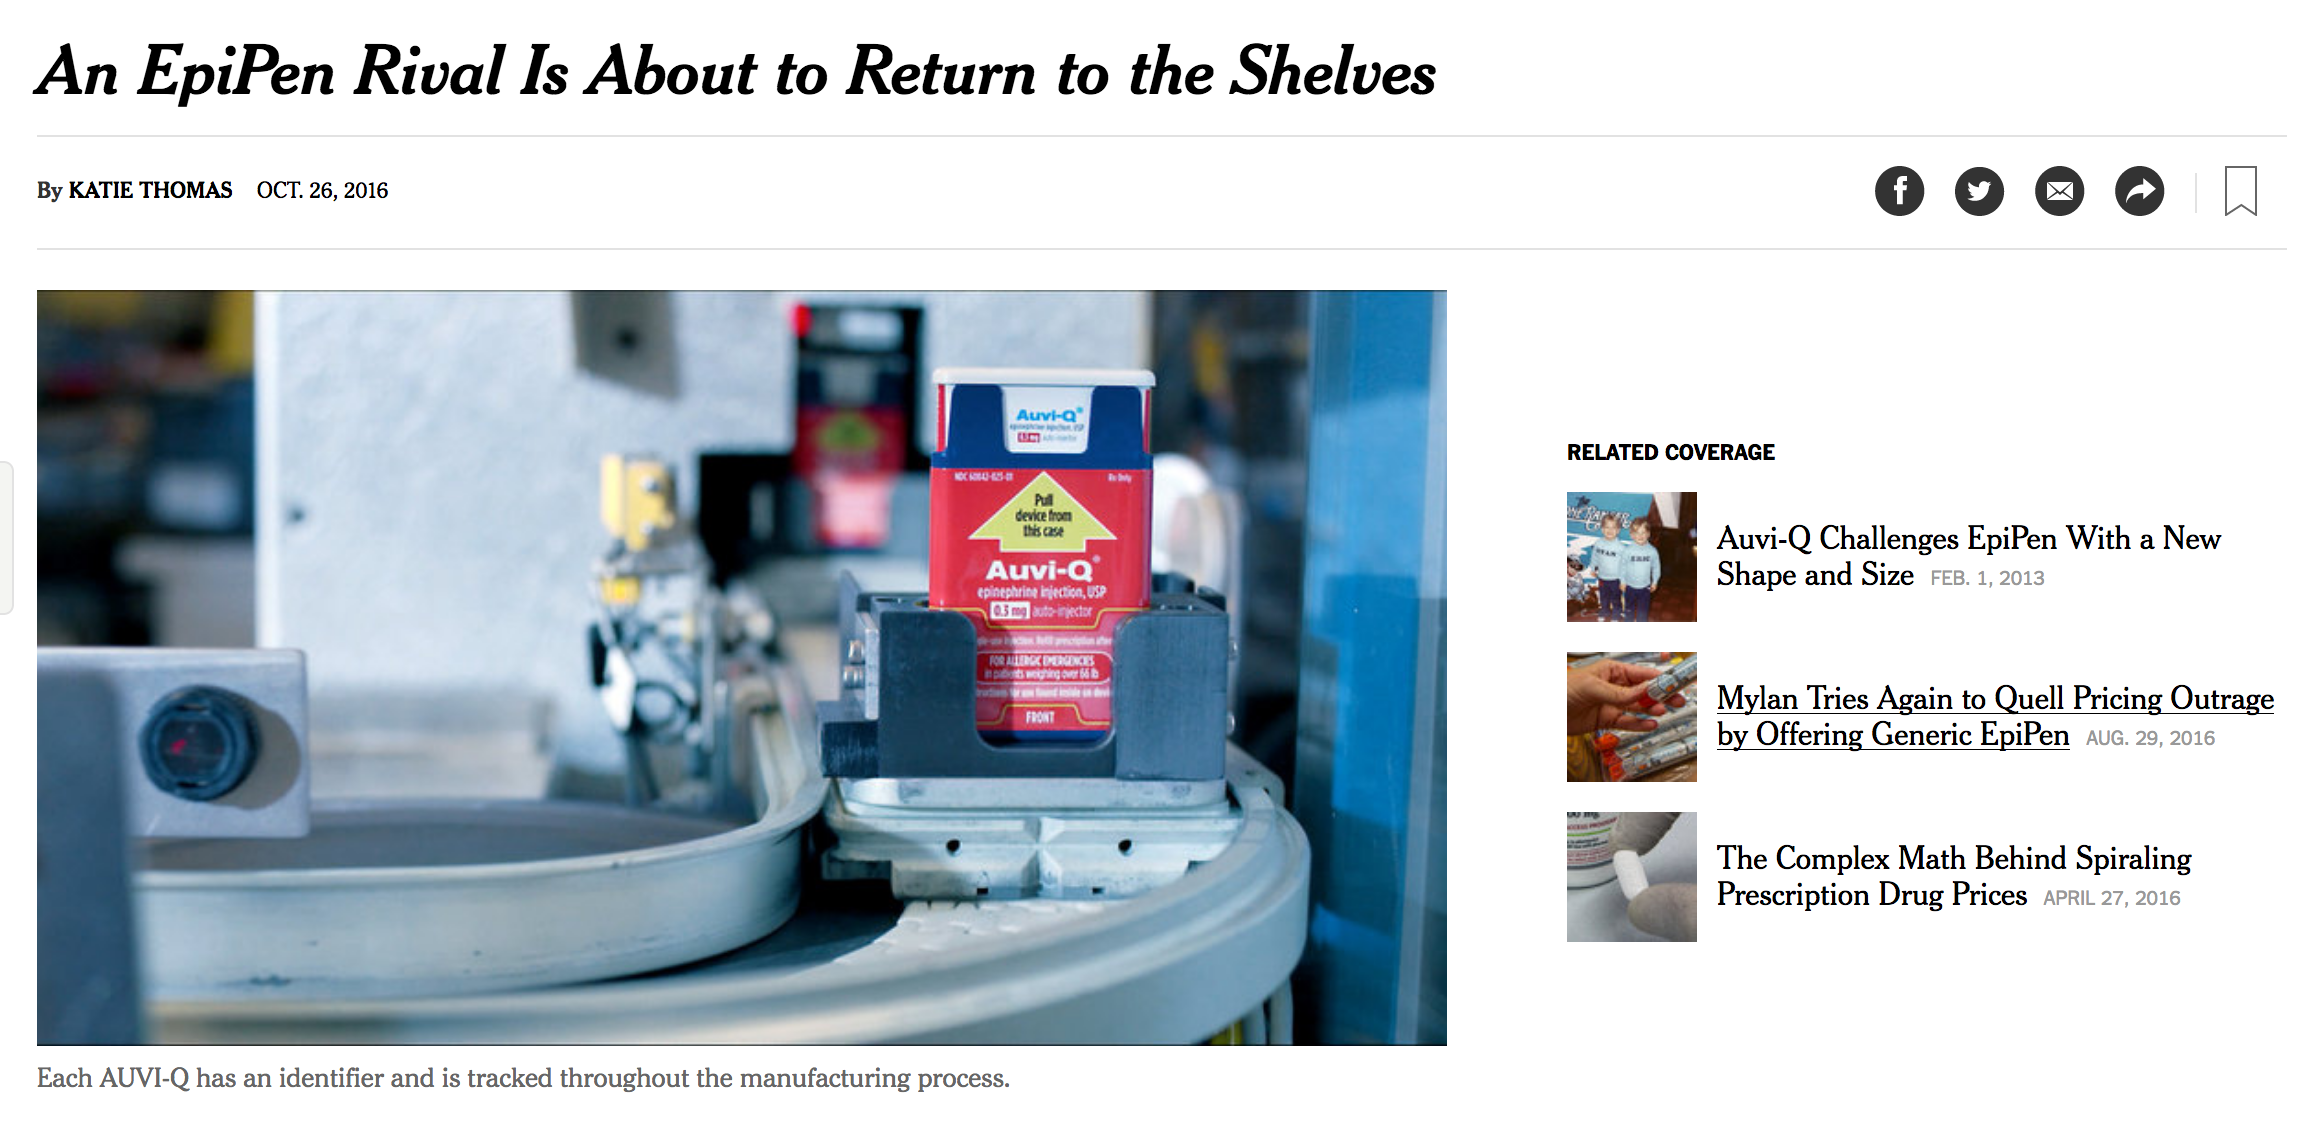
A common obstacle for many web designers is: for articles, how does one best organize an article’s title and featured image? The most common answer has been simply putting the image below the title and byline information. The New York Times is just one example of this.
It’s tried-and-true, but has been used less as time went on. As mobile devices become more common, design focused more on making things easier for the user. This pattern means user have to scroll down more to see the content. It seems like a small issue, but in a time where “Content is King” and users want to navigate with minimal effort, it’s understandable why new solutions have started appearing.
One popular alternative has been the Title Banner, since it solves this issue in a simple way: instead of putting the image below the title and byline, it makes it their background image. User scrolling is minimized, more focus is on the content, and neither the title or image are sacrificed.
In addition to making many patterns based around this for my own work, it’s been popping up in many sites I’ve visited. It’s appeared on the designed SitePoint…

…Una Kravat’s blog, who a popular voice in front-end I follow…

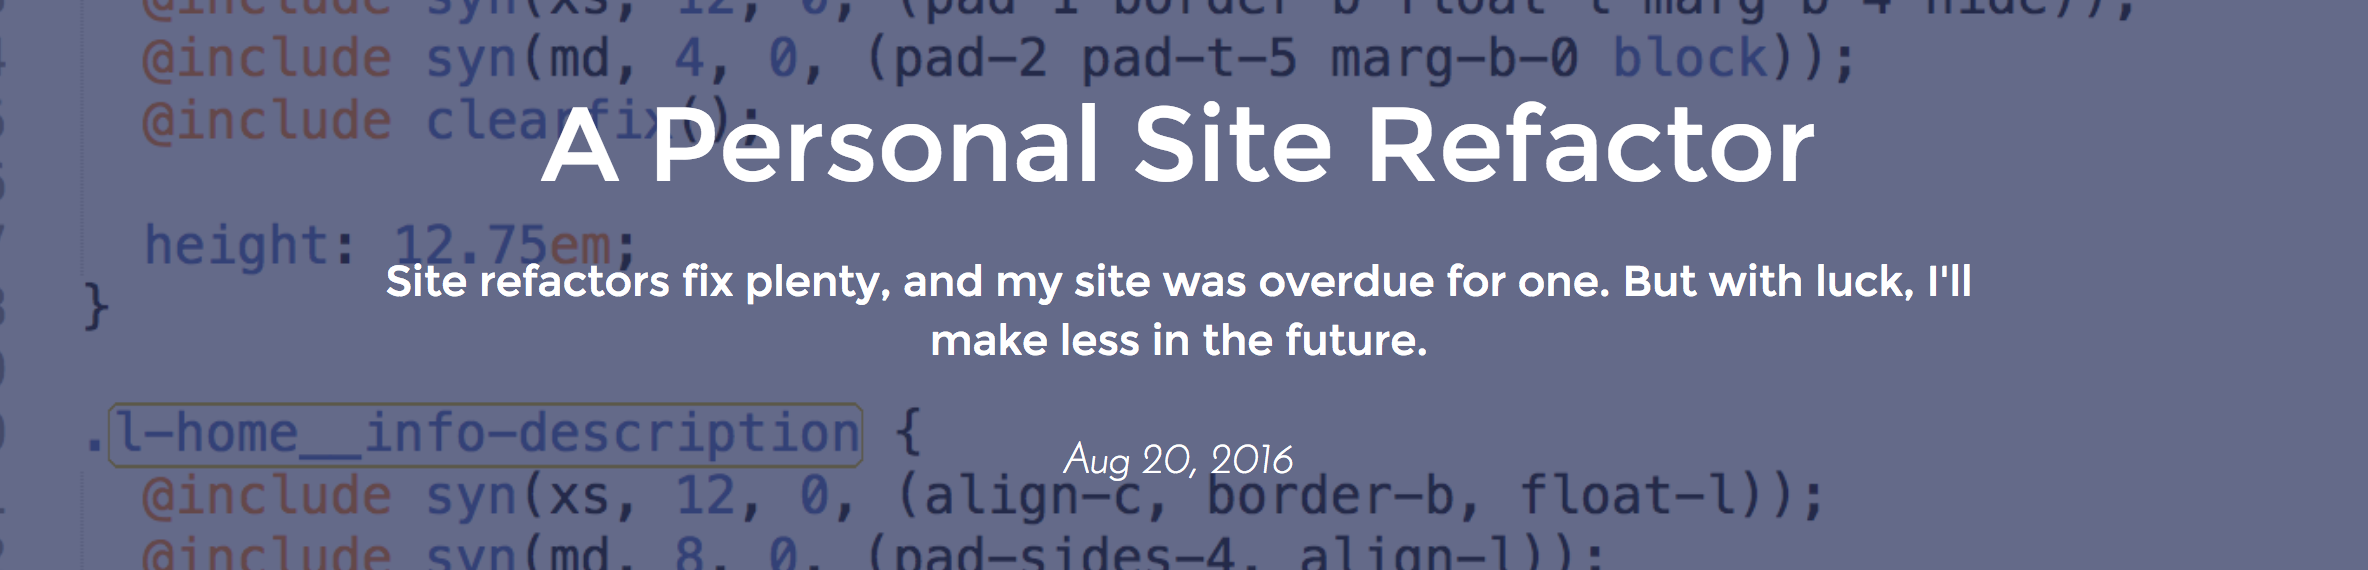
…and my own site.
I expect this pattern to become more widely used in time, since the CSS needed for it has almost total support and it’s appealing from a design perspective.
So let’s cut to the chase: how can someone use it in a Jekyll blog?
Putting the Basics Together
Thankfully, this is a relatively simple pattern to make. All one needs is a container, an image, and a dash of CSS.
Let’s say a coder wants this pattern for blog posts. Since it’ll be different for each post, they should include the image path in the post’s front matter.
---
layout: post
title:  "Your Blog Title Here"
featured-img: /img/posts/your-post-title/featured.png
---
Easy so far, but then the big question: background images like this are controlled through CSS, so how does this path go from the post to the styles?
The quickest, most effective way I know is otherwise frowned upon in front-end: inline styles in the HTML - one of the few exceptions I have for this. So in the post.html layout, one needs to add this:
<div class="FeaturedImgBanner" {% if page.featured-img %} style="background-image: url('{{ page.featured-img }}');" {% endif %}>
    <!-- Include your post title, byline, date, and other info inside the header here. -->
</div>
Voilà, we now have a post template that will include any image one choses as a background image. Some extra CSS is needed for display reasons, but since it’s the same for each banner, it can be used in the regular stylesheet.
.TitleBanner {
  background-size: cover;
  background-position: center;
}
These properties make sure the image always covers the entire header, and it’s centered inside it. One drawback is parts of the image will get cut off if the container’s dimensions, so anyone going with this setup should choose images with the most important bits in the center.
With that, we have an impressive yet functioning Title Banner for Jekyll!
However, there are some very common issues that can thankfully be addressed in advance.
What about Posts without a Featured Image?
The HTML snippet above won’t include the inline style for posts without a featured image. That’s good, but the header then has title text without any image at all. How can we set a standard image to go there when one isn’t set?
The solution: set it as the background image in the CSS file. Posts without a featured image will use that by default, and posts with one will override it.
.TitleBanner {
  background-size: cover;
  background-position: center;
  background-image: url(/path/to/backup/image); // Your backup background image
}
What if the image and text don’t contrast enough?
I think this is one of the biggest reasons people decide against a Title Banner: if the image and the text are similarly colored, the text can’t be read. It’s hard to read white text against an image of a snowstorm after all.
The hard solution is take and edit photos specifically with contrast in mind, which can really limit the options of photography-illiterate devs. The second is to guarantee there’ll be contrast with a little CSS.
After some digging I found out that box shadows on an element will appear over the background image. So all one needs to do is apply a dark box shadow to the header, make the text a light color, and the contrast is there!
.TitleBanner {
  color: white; // White text...
  box-shadow: inset 0 0 0 1000px rgba(0, 0, 0, 0.75); // ...against a dark background

  background-size: cover;
  background-position: center;
  background-image: url(/path/to/backup/image);
}
You may noticed I used rgba(0, 0, 0, 0.75) for the box-shadow color. That’s because using black would cover up the entire background-image. This uses a translucent black color, so the image’s darkness can be precisely controlled.
Note: if you don’t want to go this route, setting a background color for the text elements in your banner (like SitePoint did above) also works. But I personally prefer the subtlety and feel to adding contrast this way.
Bonus issue: what about dark text on a white background?
The above solution works for light text on dark images, but what if someone wants the opposite? More importantly, what if someone wants to use one or the other interchangeably?
Fear not, there is a way! Just add a modifier class to the CSS that adjusts the color and box-shadow for dark text on a light box-shadow.
.TitleBanner {
  color: white; // White text...
  box-shadow: inset 0 0 0 1000px rgba(0, 0, 0, 0.75); // ...against a dark background

  background-size: cover;
  background-position: center;
  background-image: url(/path/to/backup/image);
}

.TitleBanner--inverse {
    color: black; // Here we have dark text
    box-shadow: inset 0 0 0 1000px rgba(255, 255, 255, 0.75); // ...against a light background
}
To use this class, a post just needs an extra variable in their front matter…
---
layout: post
title:  "Your Blog Title Here"
featured-img: /img/posts/your-post-title/featured.png
inverse-img: true
---
…and an extra conditional in the layout’s banner classes.
<div class="FeaturedImgBanner {% if page.inverse-img %}FeaturedImgBanner--inverse{% endif %}" {% if page.featured-img %} style="background-image: url('{{ page.featured-img }}');" {% endif %}>
    <!-- Include your post title, byline, date, and other info inside the header here. -->
</div>
Now any post can have a light or dark image contrast!
In Conclusion
The Title Banner is a popular pattern, and for good reason. It’s stylish, uses less space, and improves user experience. Title Banners that can work with lots of different images can find lots of use on any website, personal and professional.
Even if you don’t code with Jekyll, the basic way it’s executed here can be carried over for almost any other CMS. So for front-end devs, it’s a pattern worth getting familiar with.
If you have any questions, comments, critiques, or ideas for other front-end tutorials, Jekyll or otherwise, please share them with us at @newhavenio, or with me directly at @Maxwell_Dev.